Run a Local Node in Changi
Get the binaries
Go to the official DeFiChain release section and look for the latest version of the node.
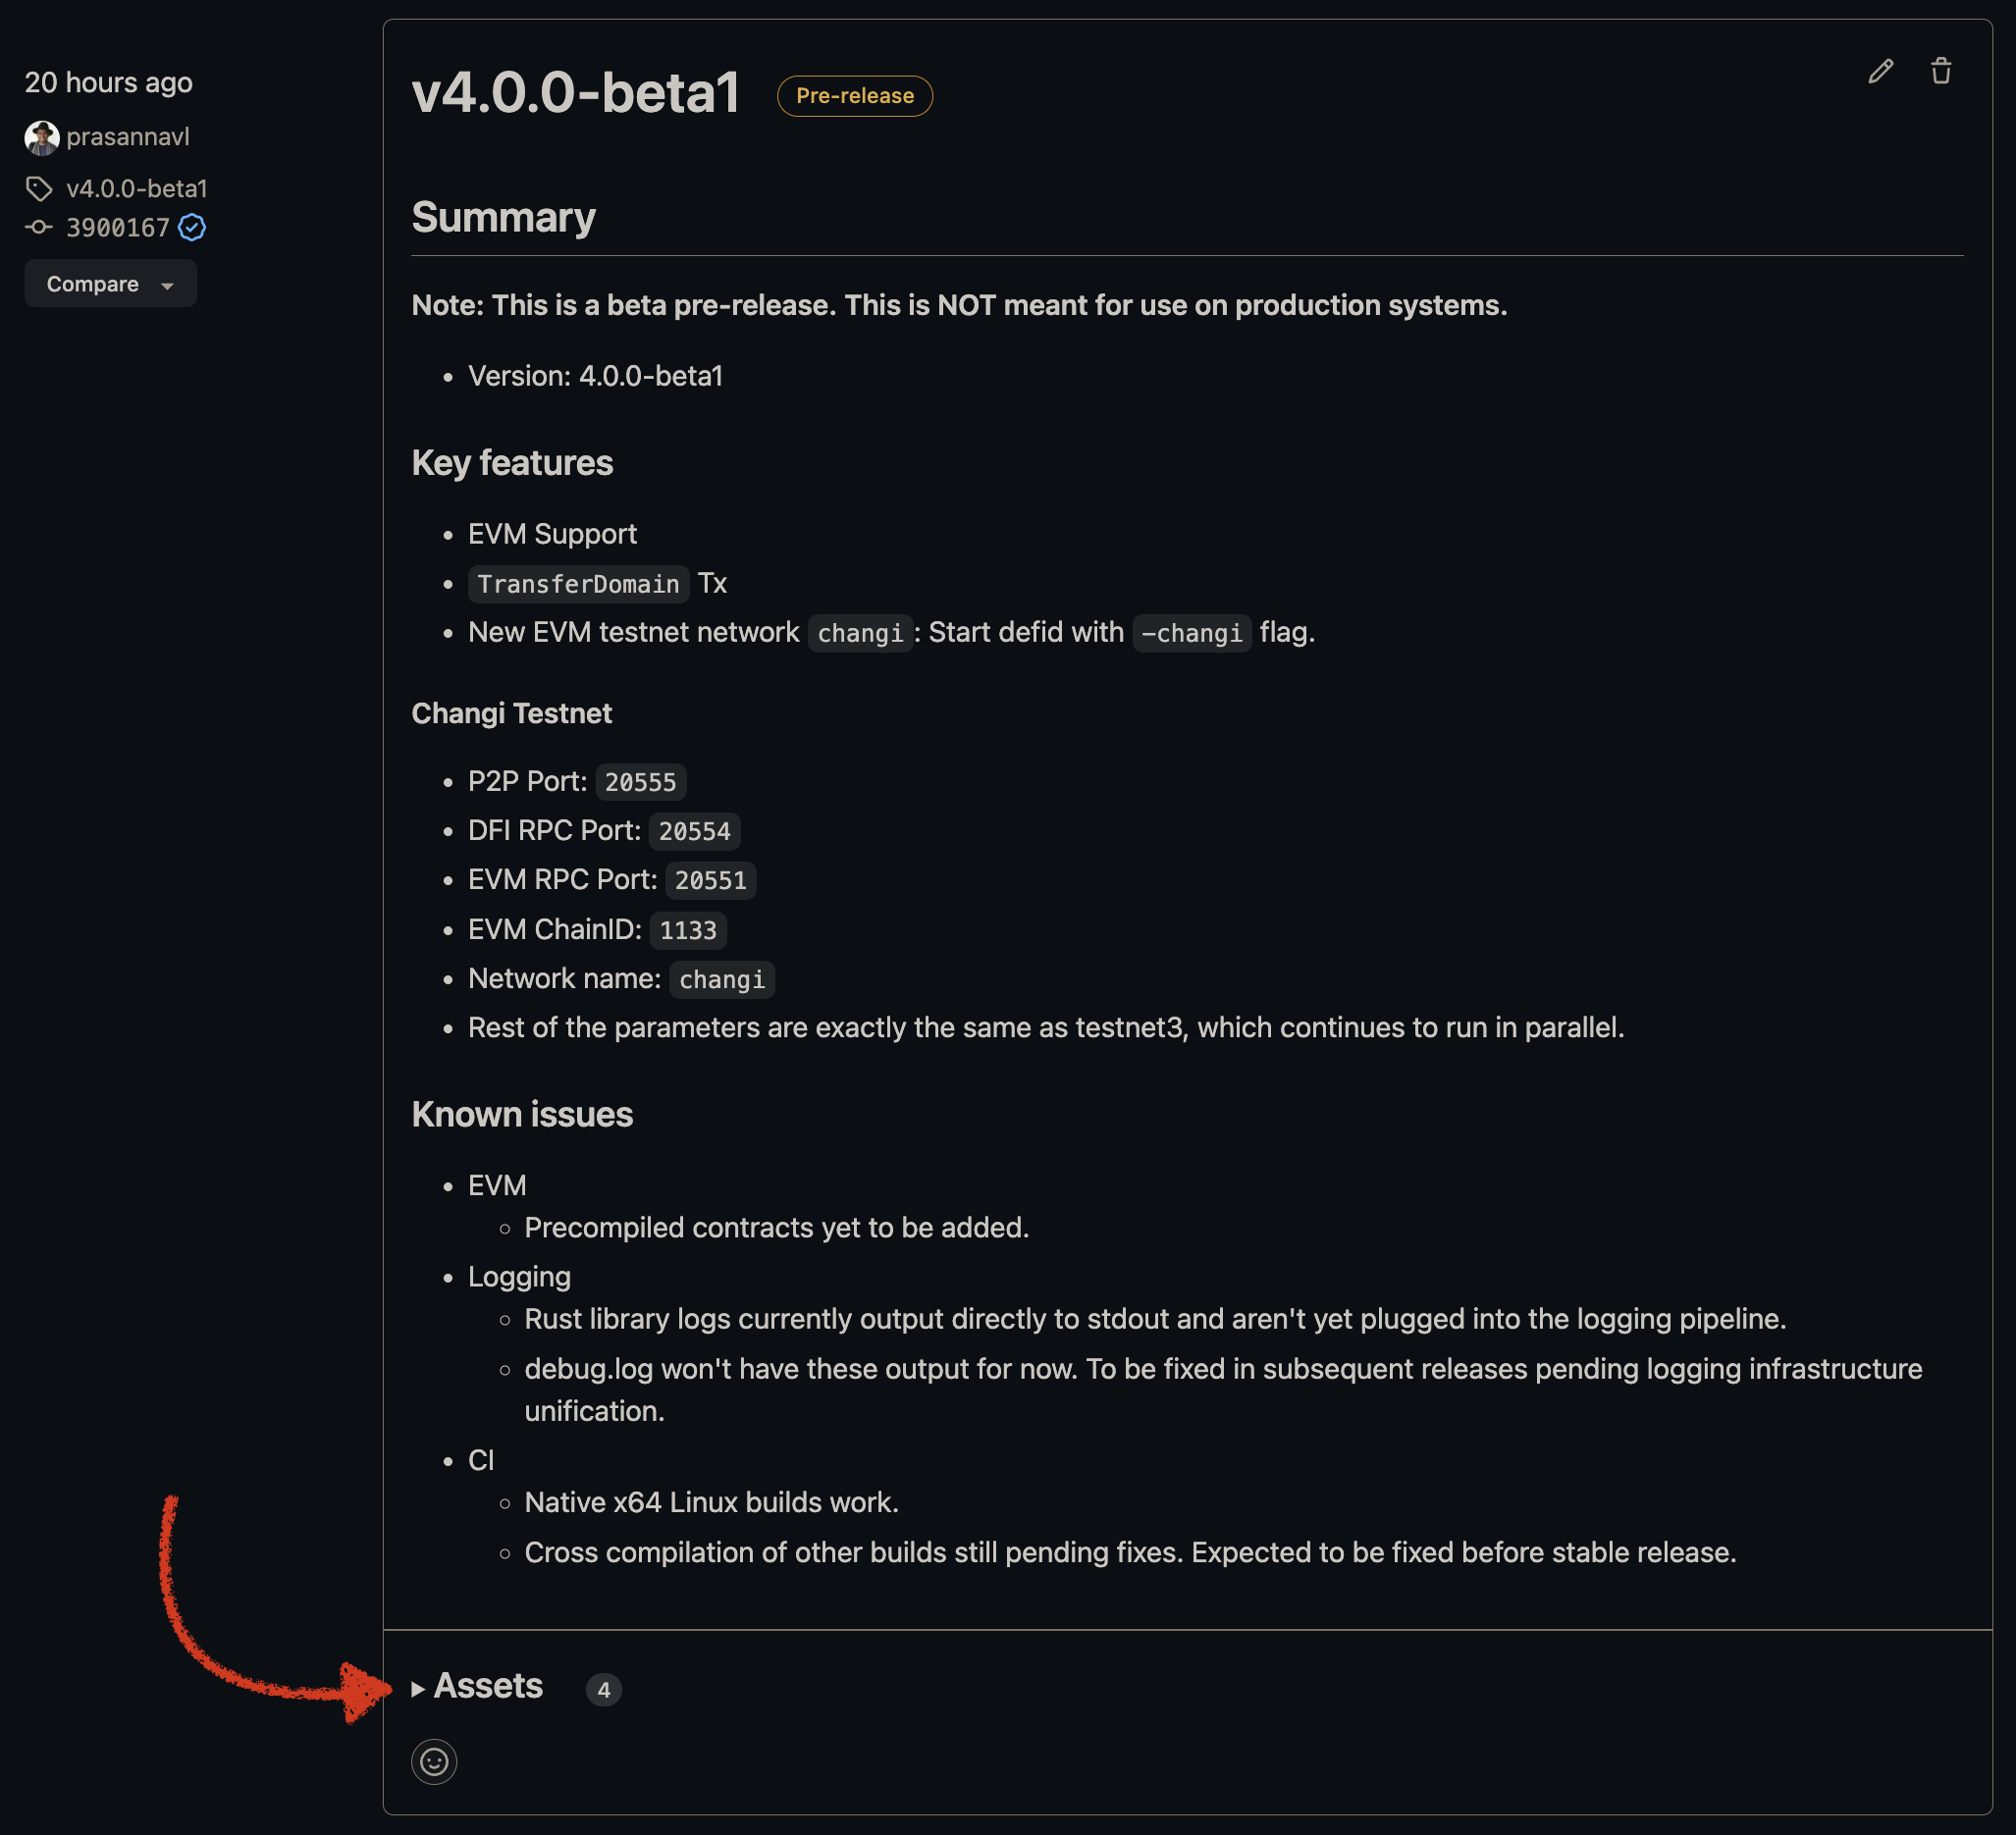
Then click on the Assets dropdown at the end of each release section. Then select the binaries for your Operating System.

Once you have downloaded the binaries extract them to your desired directory. You should see three files inside the bin folder:
defid: DeFiChain nodedefi-cli: Command line interface to interact with the nodedefi-tx: utility tool to build and sign transactions on DeFiChain
For the purpose of this guide we will only be using defid and defi-cli.
Runing the node
To run the node just run the defid binary with the -changi flag
defid -changi
If you want
defidto run as a deamon (in the background) add the-daemonflag to the command above. Also if you want to have additional debug information about the EVM addRUST_LOG=debugto the begining of the command.
RUST_LOG=debug defid -changi --daemon
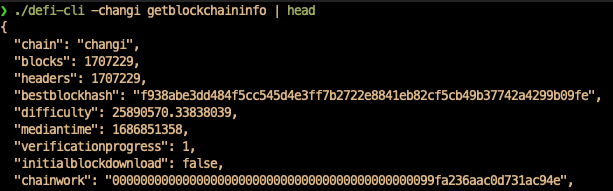
Once the node is running it should start syncing. The process of syncing can take up to a couple of hours depending on your machine so just be patient.
To check if the node is synced you can open a new terminal, run the following command and check if the fields blocks and headers are equal:
defi-cli getblockchaininfo | head
Connect Metamask.
To connect to MetaMask the process is the same as the one described in Connect Metamask to Floppynet and in point 4 use the Changi Testnet connection data below. For now only the Chain ID and the optional block explorer in the Changi Testnet are different:
| Network | RPC URL | Chain ID | Block Explorer |
|---|---|---|---|
| Changi Testnet | http://changi.dfi.team | 1133 | https://meta.defiscan.live |
Faucet
To get Changi Testnet DFI you can use the faucet provided by the community at http://tc04.mydefichain.com/faucet/